:max_bytes(150000):strip_icc()/ACS_0010-c67d676615084ae7a6c99c69f72ac16f.jpg)
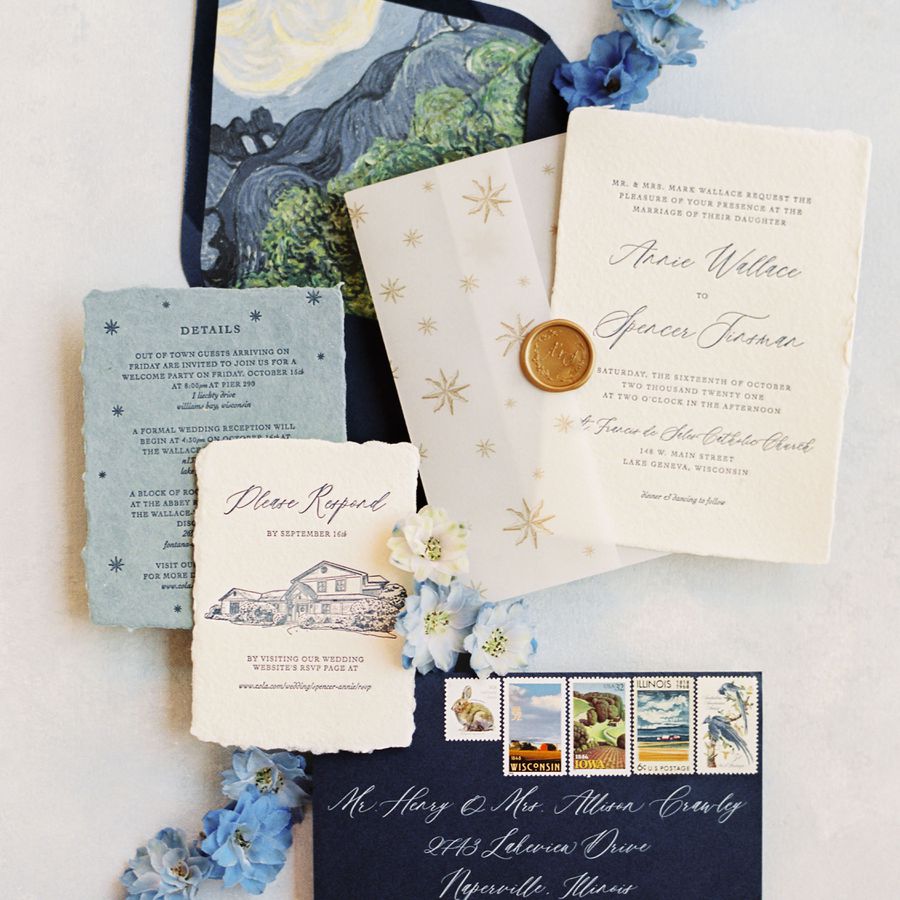
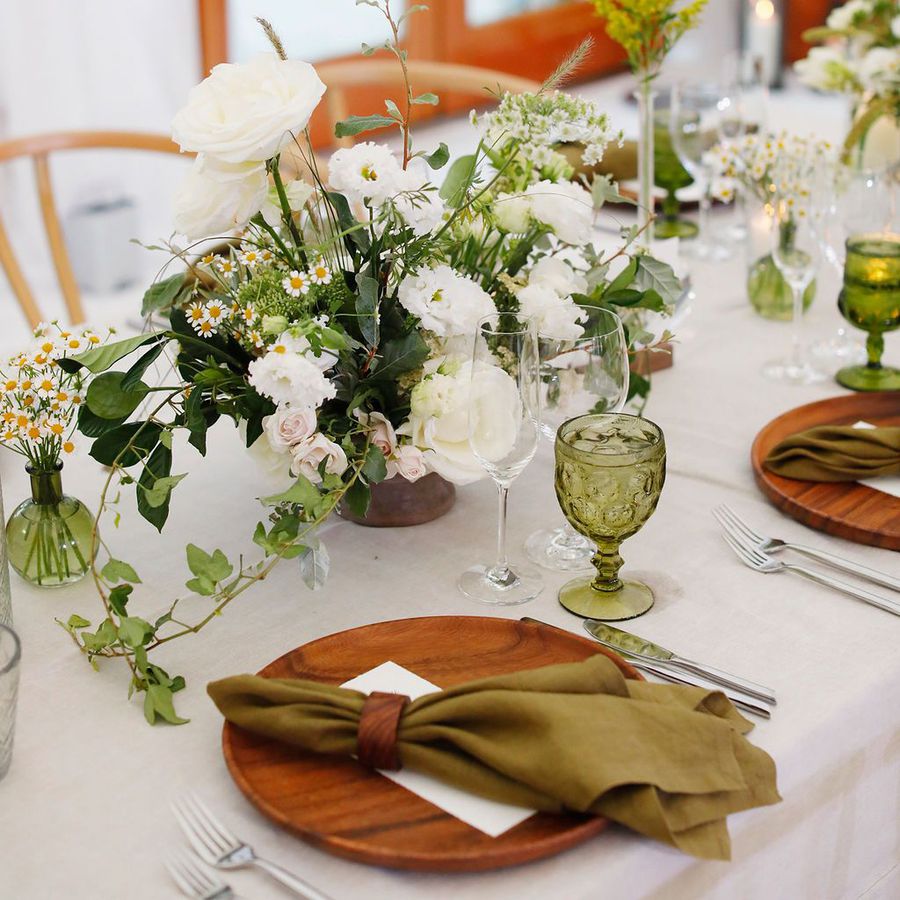
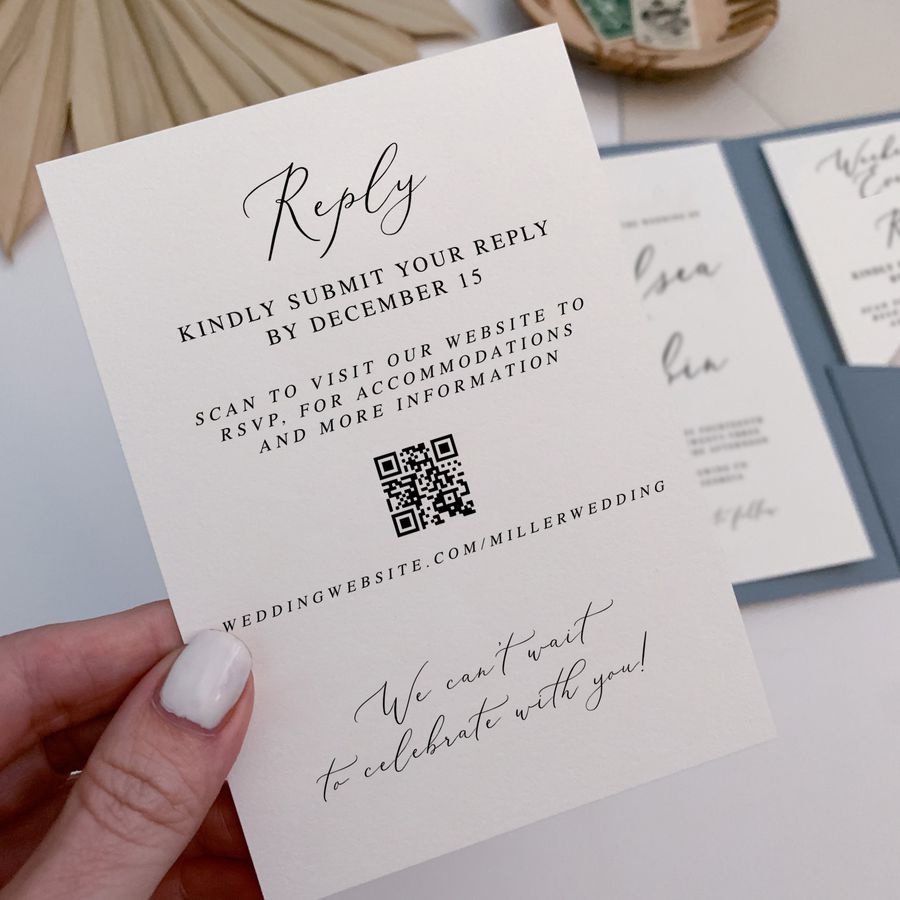
Photo by Rebecca Green Design
When it comes to picking out—or making—your wedding invitations, there are so many things to consider, and lots of places to look for inspiration. And while it may seem simple, there is a lot that goes into making up the holistic invitation suite (which includes the invitation design, envelopes with liners, and various embellishments like wax stamps, silky ribbons, or sweet bows). That's why wedding invitations aren't easy on the wallet, so creating your own envelope liners can be a good way to save a little money in your wedding budget.
If you're not sure where to start, begin by thinking about your wedding vision and style. "I find that when you focus on the things that make your wedding 'you' (like your flowers, décor, the wedding venue/location, and bridesmaids' dresses) you will end up with a suite that is more unique and reflects you as a couple," says Rebecca Green, the owner and creative designer of Rebecca Green Designs.
Meet the Expert
Stationary designer Rebecca Green is the owner and creative designer of Rebecca Green Designs.
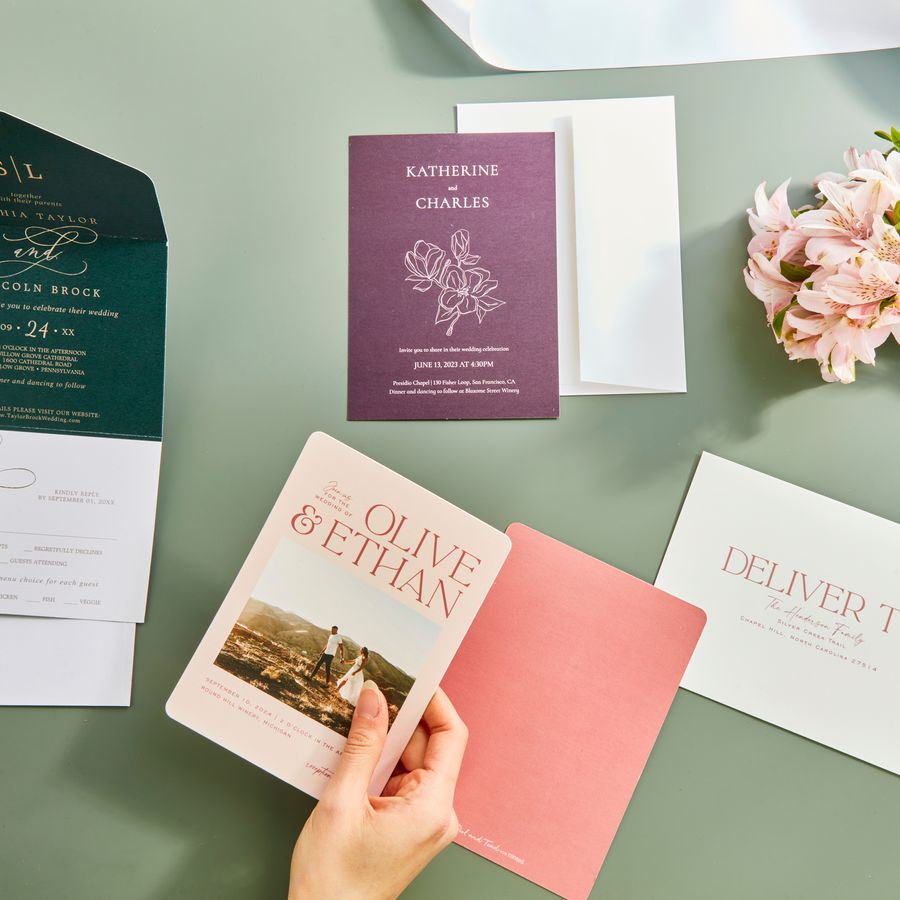
Envelope liners may seem like a small detail, but they serve as the background for the presentation of your invitations—and those little details go a long way! "This is the very first thing that your guests see and truly sets the tone for your entire wedding," says Green. So whether you want a simple, solid-color liner or something a little more involved, there are ways to create these stunning pieces right at home. Here, Green talks us through how to create DIY envelope liners—and important things to keep in mind during the process, from sourcing templates to having the right materials on hand.
Create a Vision Board
Before you get started on making anything, spend some time doing a bit of research. "Pinterest, Instagram, and other social media apps are excellent tools for finding inspiration, but they can also be overwhelming," explains Green. "I recommend starting an inspiration board and gathering photos that you like. Once everything is compiled you should be able to see what you are most drawn to."
Pick Your Background
Once you understand the style of invitation suite you're going for, you can start on the envelope design. Green explains that the first thing to do is find a pattern or a portrait that speaks to you. "There are so many wonderful resources out there for free artwork or artwork at a minimal cost (no need to copy a designer's custom artwork, as it is illegal!)," she advises.
If you're looking for a place to pull images or pictures, Green suggests looking to The New York Public Library and The Metropolitan Museum of Art. "Both have wonderful websites that allow you to download artwork for free," Green says.
Print Your Pattern
Once you've settled on a pattern, portrait, or image for the envelope liners, it's time to get it printed! You can certainly do this at home, but Green recommends using a professional printer if you can swing it. Be sure to use text-weight paper—not card stock.
Gather Your Materials
Now that you have a pattern chosen and printed, you'll want to gather all the materials you need. "I recommend purchasing a paper cutter/trimmer from a local craft store or Amazon and cutting your envelope liners based on your envelope size," Green says. While regular scissors will work too, you'll want to ensure they're sharp and made for cutting paper. In addition to your envelopes, printed lining pattern, and paper cutter, make sure you also have a pencil for tracing, and an adhesive, like tape liner.
Find the Right Template
After your pattern is printed, it's time to cut out the liners. While you can certainly just use the trace-and-cut method, as shown in this tutorial from Paper Source, you can also look online for simple templates. "A quick google search will offer many free envelope liner templates that you can follow to ensure your cuts are perfect," says Green.
Insert the Liners
The final step for DIY envelope liners will be sliding the liners into your envelopes. All this requires is a little adhesive, like a good tape liner, and some expert adjusting to make sure everything lines up. And voila! You've made your very own envelope liners for your wedding invitations.